

Tie dye, batik, and dip dye offer endless ways to transform simple fabrics into colorful masterpieces. Whether you're a beginner hobbyist or a seasoned artist, this guide by Aybel delves into each method, with step-by-step instructions, pro tips, and unique variations to take your projects to the next level.
History of Tie Dye, Batik and Dip Dye
These techniques date back centuries, combining cultural traditions with modern DIY appeal. Tie dye, popularized by the hippie movement in the 1960s, has roots in ancient Japan (shibori) and India, where fabric was knotted to resist the dye. Batik, originating in Indonesia over 2,000 years ago, uses wax to create intricate patterns and spread along trade routes to Africa and Asia. Dip dye, a simpler gradient method, echoes the ombré styles of 19th-century France but exploded into fashion during the 2010s.
Understanding the origins helps you appreciate the art: imagine bringing the precision of Javanese batik to your next scarf!
Essential Materials for Tie Dye Techniques
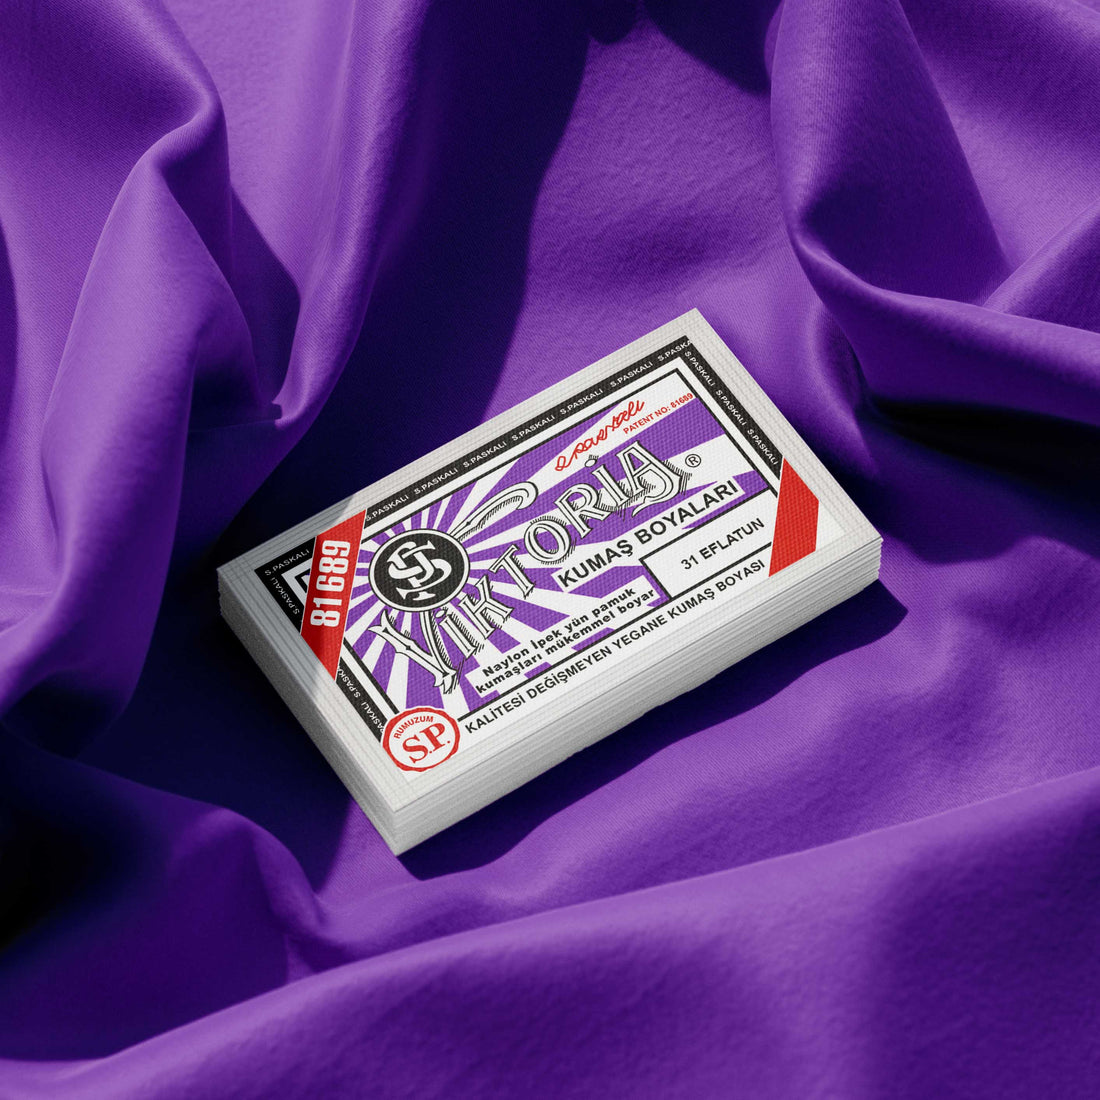
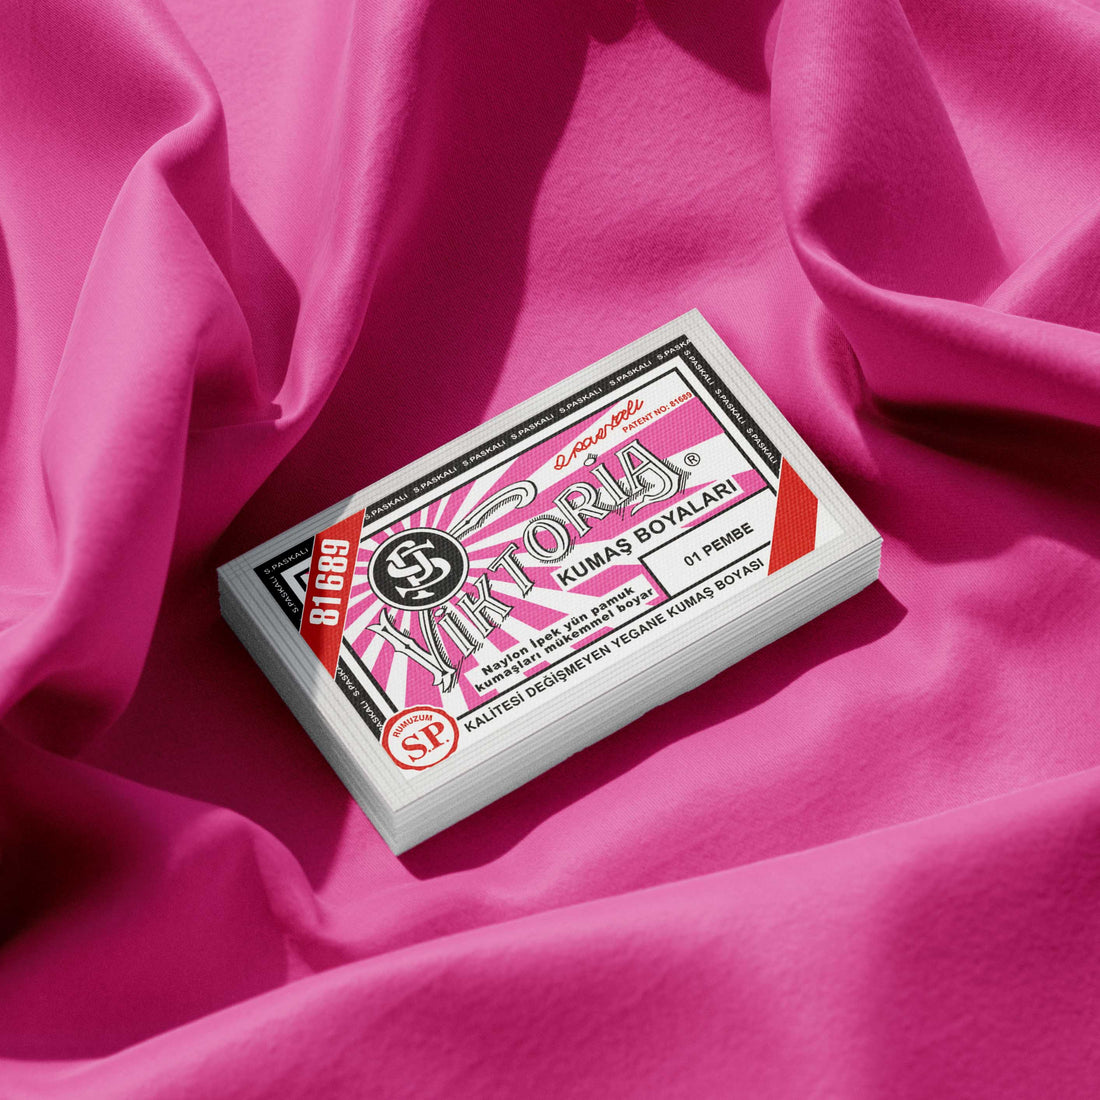
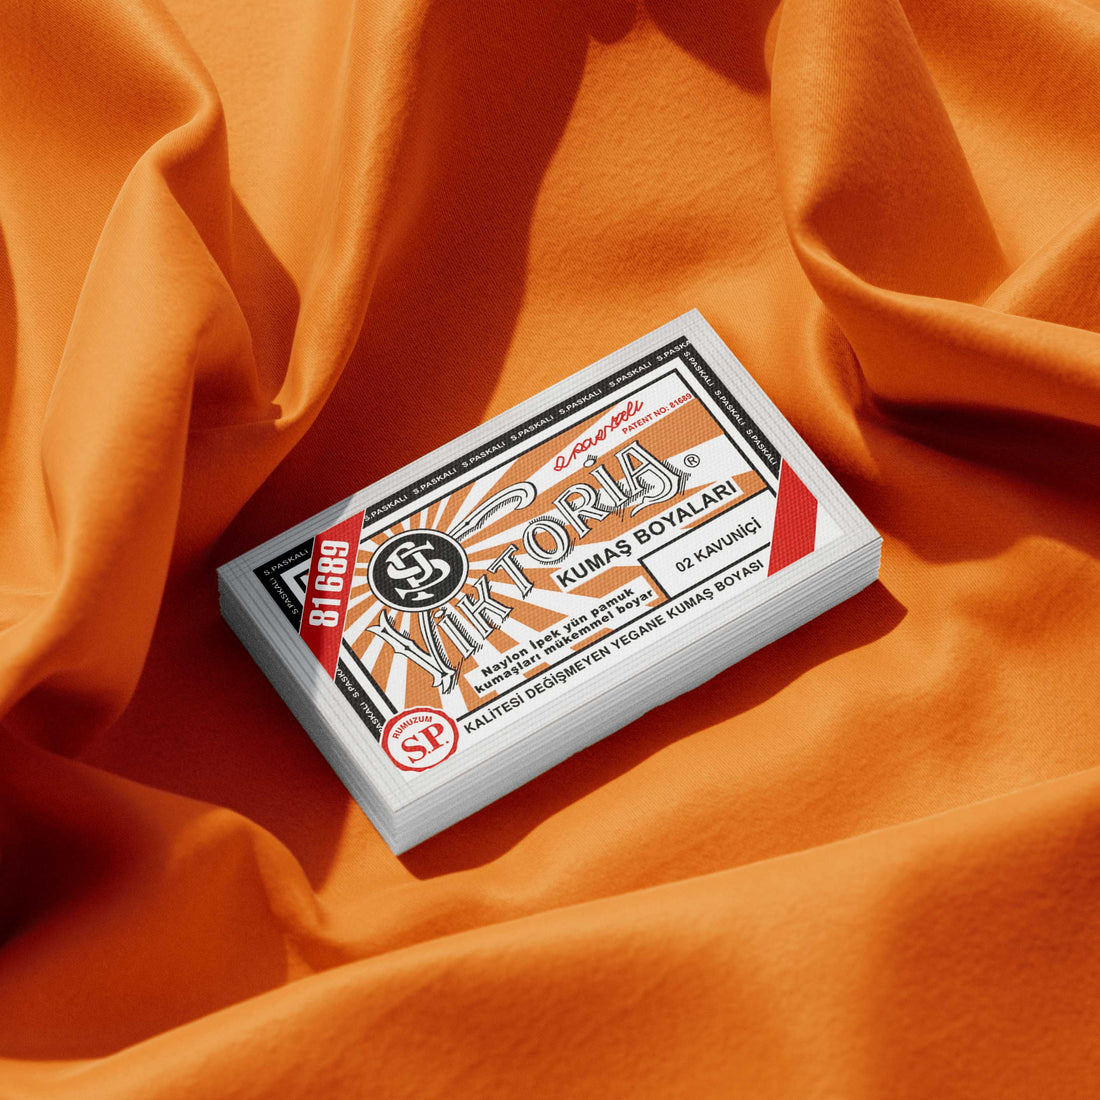
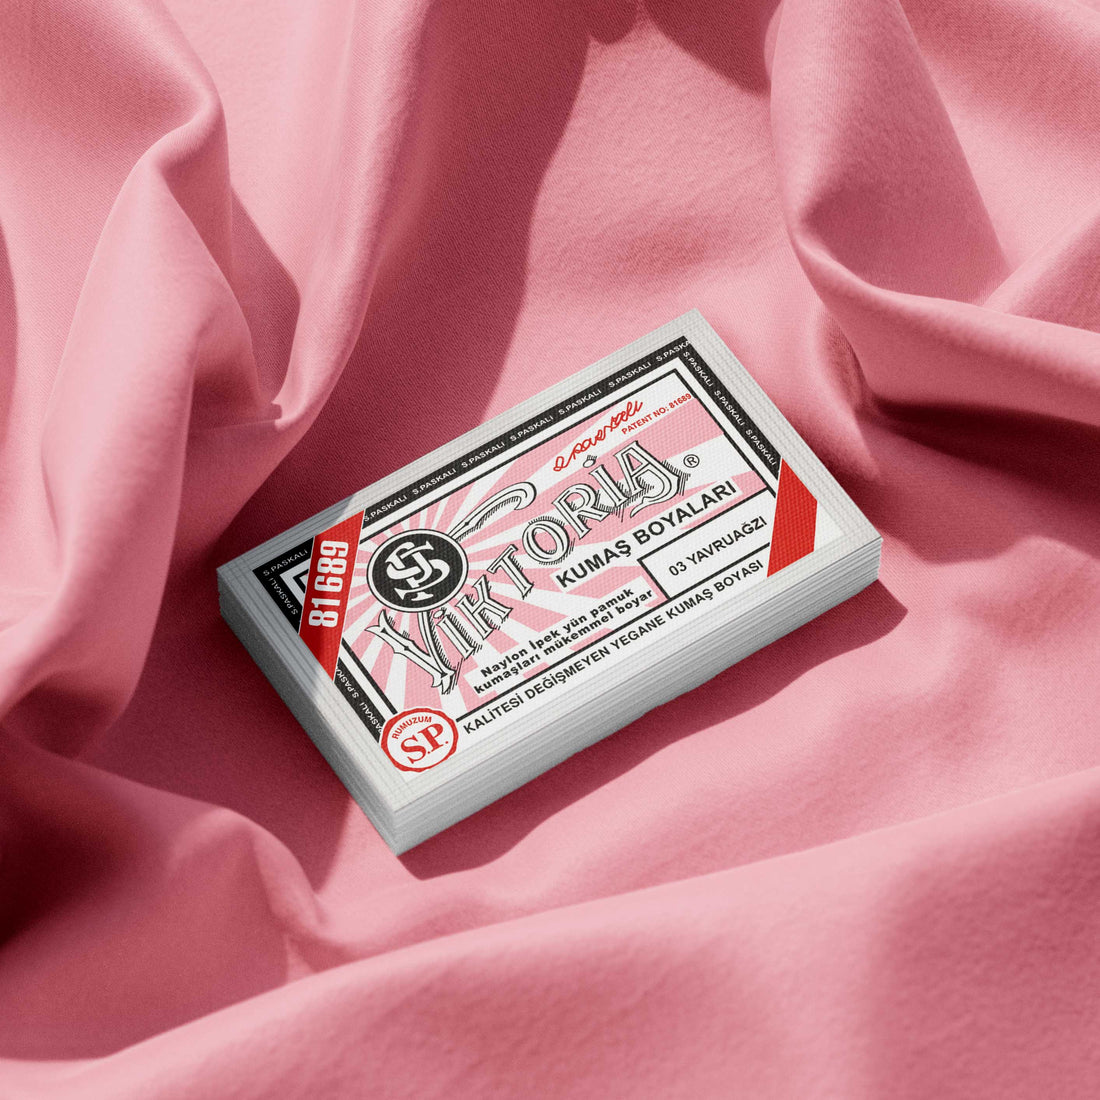
Stock up on quality supplies to ensure vibrant, long-lasting results. Key items include natural fiber fabrics like cotton or rayon (pre-washed to remove dirt and prevent shrinkage), fiber-reactive dyes, elastic bands, spouted bottles, fixative, and gloves. Aybel offers ready-to-use kits with a variety of color shades to choose from.
- Fabrics: 100% cotton T-shirts or scarves ensure the best color absorption.
- Dyes: High quality fiber reactive dyes, such as those from Aybel .
- Tools: Plastic basins, salt (for dye baths) and synthetic brushes.
Pro tip: Always test dyes on fabric scraps before starting the actual project.
Mastering Tie Dye Patterns: From Spiral to Crumple
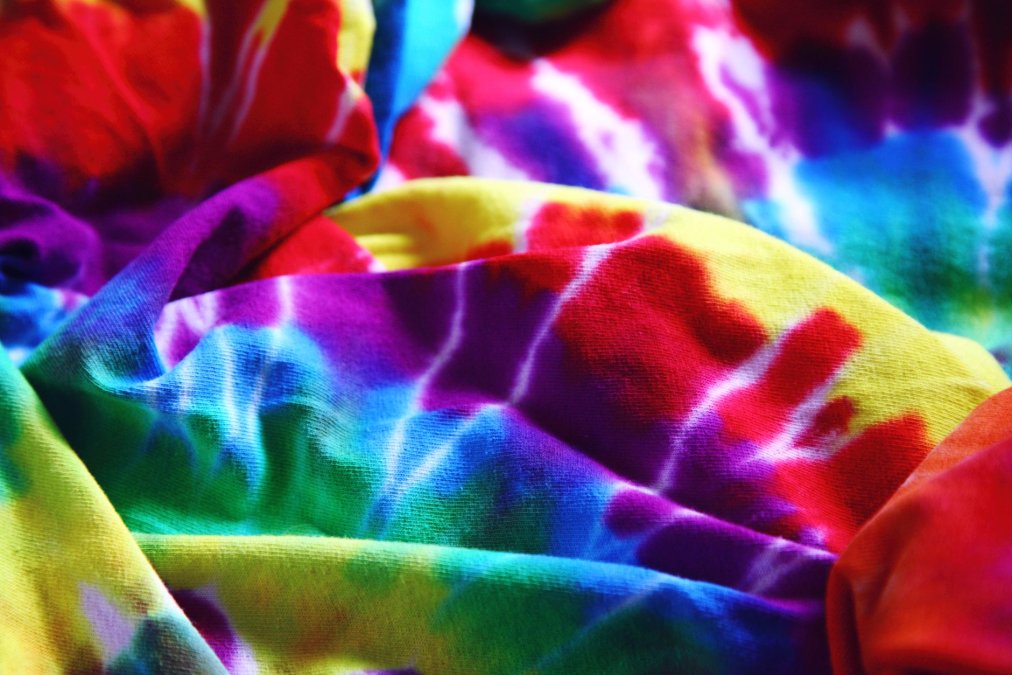
Tie dye shines for its versatility, creating radial explosions or abstract flows. Start by pre-soaking a garment in a salt-water solution for better dye adhesion.
Spiral Tie Dye: Lay the fabric flat, pinch the center, and twist it. Secure with rubber bands; apply dye in segments or radial patterns. Let sit for 6-12 hours, then rinse in cold water until the water runs clear.
Bullseye (Target): Pinch dots all over the fabric and tie well – perfect for polka dot effects.
Crumple: Crumple randomly for an ice-dye effect; sprinkle powdered dye on ice cubes for smooth melts.
Advanced variation: Reverse tie dye bleaches the colors of dark shirts using a chlorine-based bleach (e.g., diluted bleach) instead of dye.
Batik Techniques: The Mastery of Wax Resist
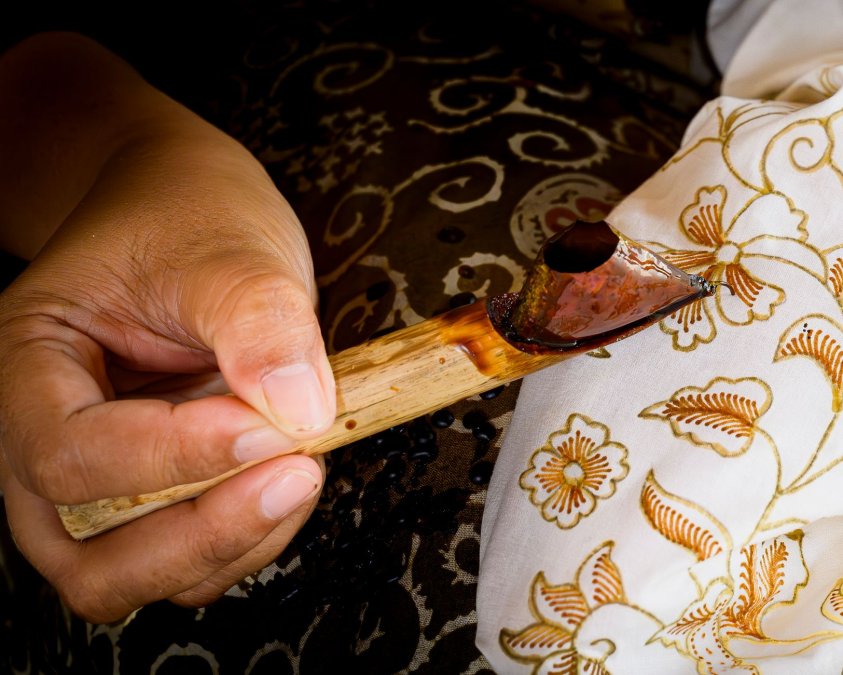
Batik creates crisp, detailed designs using wax. Melt a 1:1 mixture of paraffin and beeswax at 120°C (248°F); apply it with a tjanting or brushes to pre-washed, tightly stretched fabric.
- Single Layer: Draw the design (e.g., flowers), outline the wax, then dye in a bath of your choice. Gently break the wax to create delicate veins, then boil to remove it.
- Multi-Layer: Work from light to dark: after completing the first step, reapply the wax in different areas or to add details to the previous design. Then dye with a darker color.
- Freehand: Drip wax onto stretched fabric for abstract effects.
Tip: Combine soy wax with low heat for easier removal.
Safety: Work in a well-ventilated area; remove the wax in hot water, taking care not to burn yourself.
Advanced Batik Variations Like Tjap Stamping
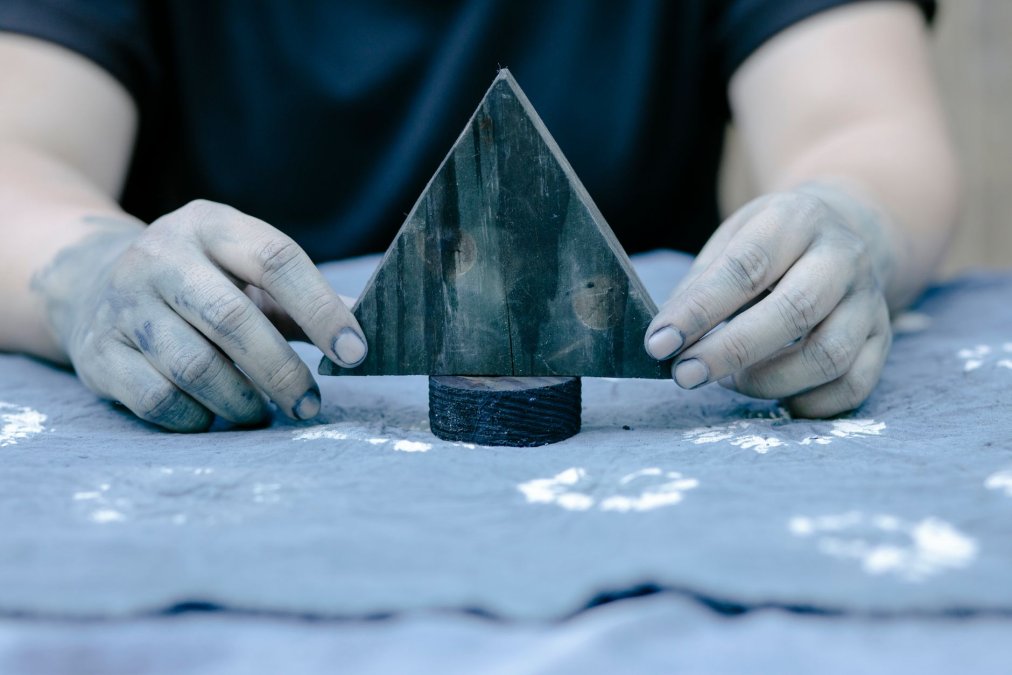
Elevate your projects with copper tjap (stamps) dipped in wax to create repeatable patterns. Apply dip dye after stamping to create a blended effect. Extra tip: Modern artists layer batik over tie dye; apply wax after tie dye to define edges or create detailed designs.
Dip Dye Techniques: Ombré Perfection
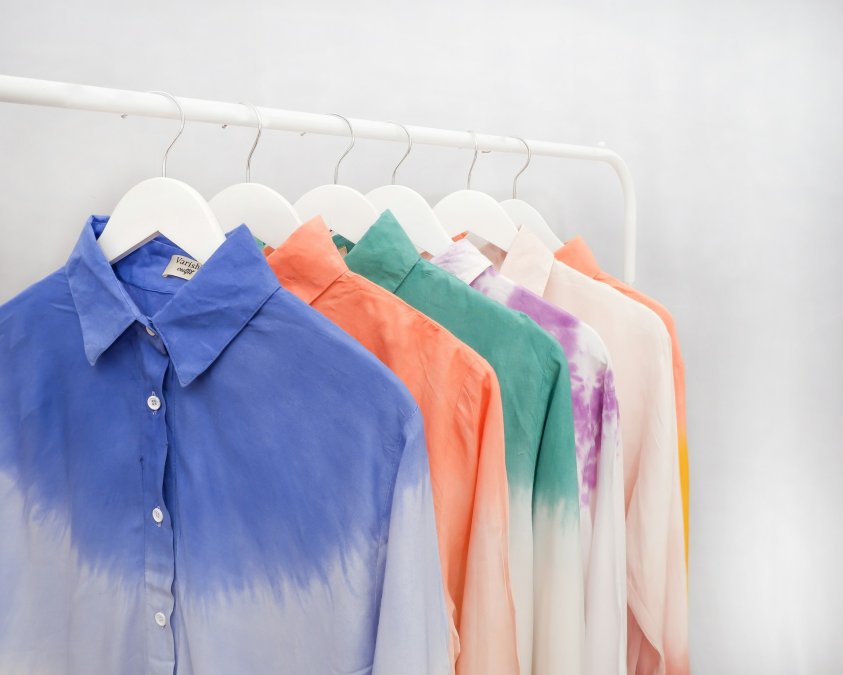
Dip dye is the easiest way to transform a plain fabric into a garment with an elegant shade. Perfect for scarves, denim hems, or tote bags. It takes just 30 minutes of work (plus the resting time) and four items: natural fiber dye , salt, a basin, and gloves.
Prepare the fabric. Use only natural fibers (cotton, linen, silk), pre-washed to remove fabric softeners and impurities that would otherwise block the color.
Prepare the dye bath. Dissolve 50 ml of dye and 0.5 kg of salt in 1 liter of boiling water, then dilute to 5 liters at 30-60°C. Hot L intensifies the color: this is not a mistake, the heat activates the reactive dye on the fibers.
Dip and blend. Dip only the bottom of the fabric for 2-10 minutes to achieve a deep shade. Then gradually lift: from the dark end, this will create a natural transition to the light. For a softer effect, shake gently for even absorption and re-dip the top part in a lighter dye.
Set and rinse. Apply a fixative , let it sit for 6-24 hours, and rinse in cold water until it runs clear. Hand wash the first few times to preserve the color.
Pro tip: Always test on a scrap of fabric before submerging your final garment. L ombre effect is the most elegant way to give new life to your fabrics!
Combining Techniques: Tie Dye and Batik Together
Combine techniques for unparalleled designs: apply tie dye first for basic vibrancy, then batik over it for precision. Wet dewaxed batik, scrunch, and tie for tie dye; or lay down the designs in wax and dye over them. Layering from light to dark is the best way to achieve the best results.
Common Mistakes and Troubleshooting
Avoid the most common mistakes for professional results:
- Fading colors: Insufficient fixation: use a professional fixative .
- Uneven dyeing: Fabric too saturated; use the right amount of dye.
Conclusion
Mastering tie-dye, batik, and dip-dye techniques unlocks limitless creativity withAybel.shop 's premium tools. From spirals to stamped patterns, these methods combine tradition and innovation for exceptional pieces.
Ready to dye? Discover the entire Aybel range and transform your fabrics today!